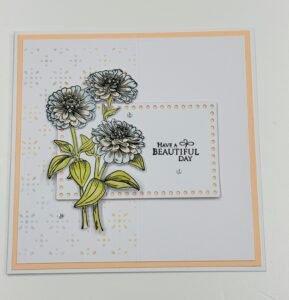
Simply Zinnia
Hi, how are you all? I wanted to begin today by telling you that I have finally got my act together! Firstly, you have reached my brand new website Jan’s Craft Studio which has been put together by Catherine Carroll who is a tech guru!! Thank you Catherine!! and secondly I am videoing again! So onto the Simply Zinnia card and video!!
How to Create
Firstly cut a piece of Basic white card stock by placing it in the trimmer with the short side across the top and cutting down at 5 3/4″, turn and cut at 11 1/2″. Move this along to 5 3/4″ and score. Fold and burnish. This is your base card .
Then cut a piece of Balmy Blue or Petal Pink card stock to measure 5 1/2″ x 5 1/2″. This piece was then adhered flat to the base card.
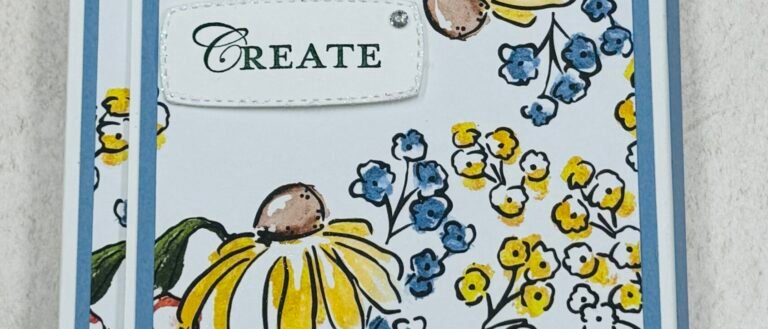
Cut a piece of basic white card stock to measure 5 1/4″ x 5 1/4″. Using one of the Linked Together Decorative Masks, place it about half way across the basic white card and tape down. Using Balmy Blue & Petal Pink ink pads, ink up two brushes and brush through the mask. Remove the tape and adhere flat to your Balmy Blue or Petal Pink card.
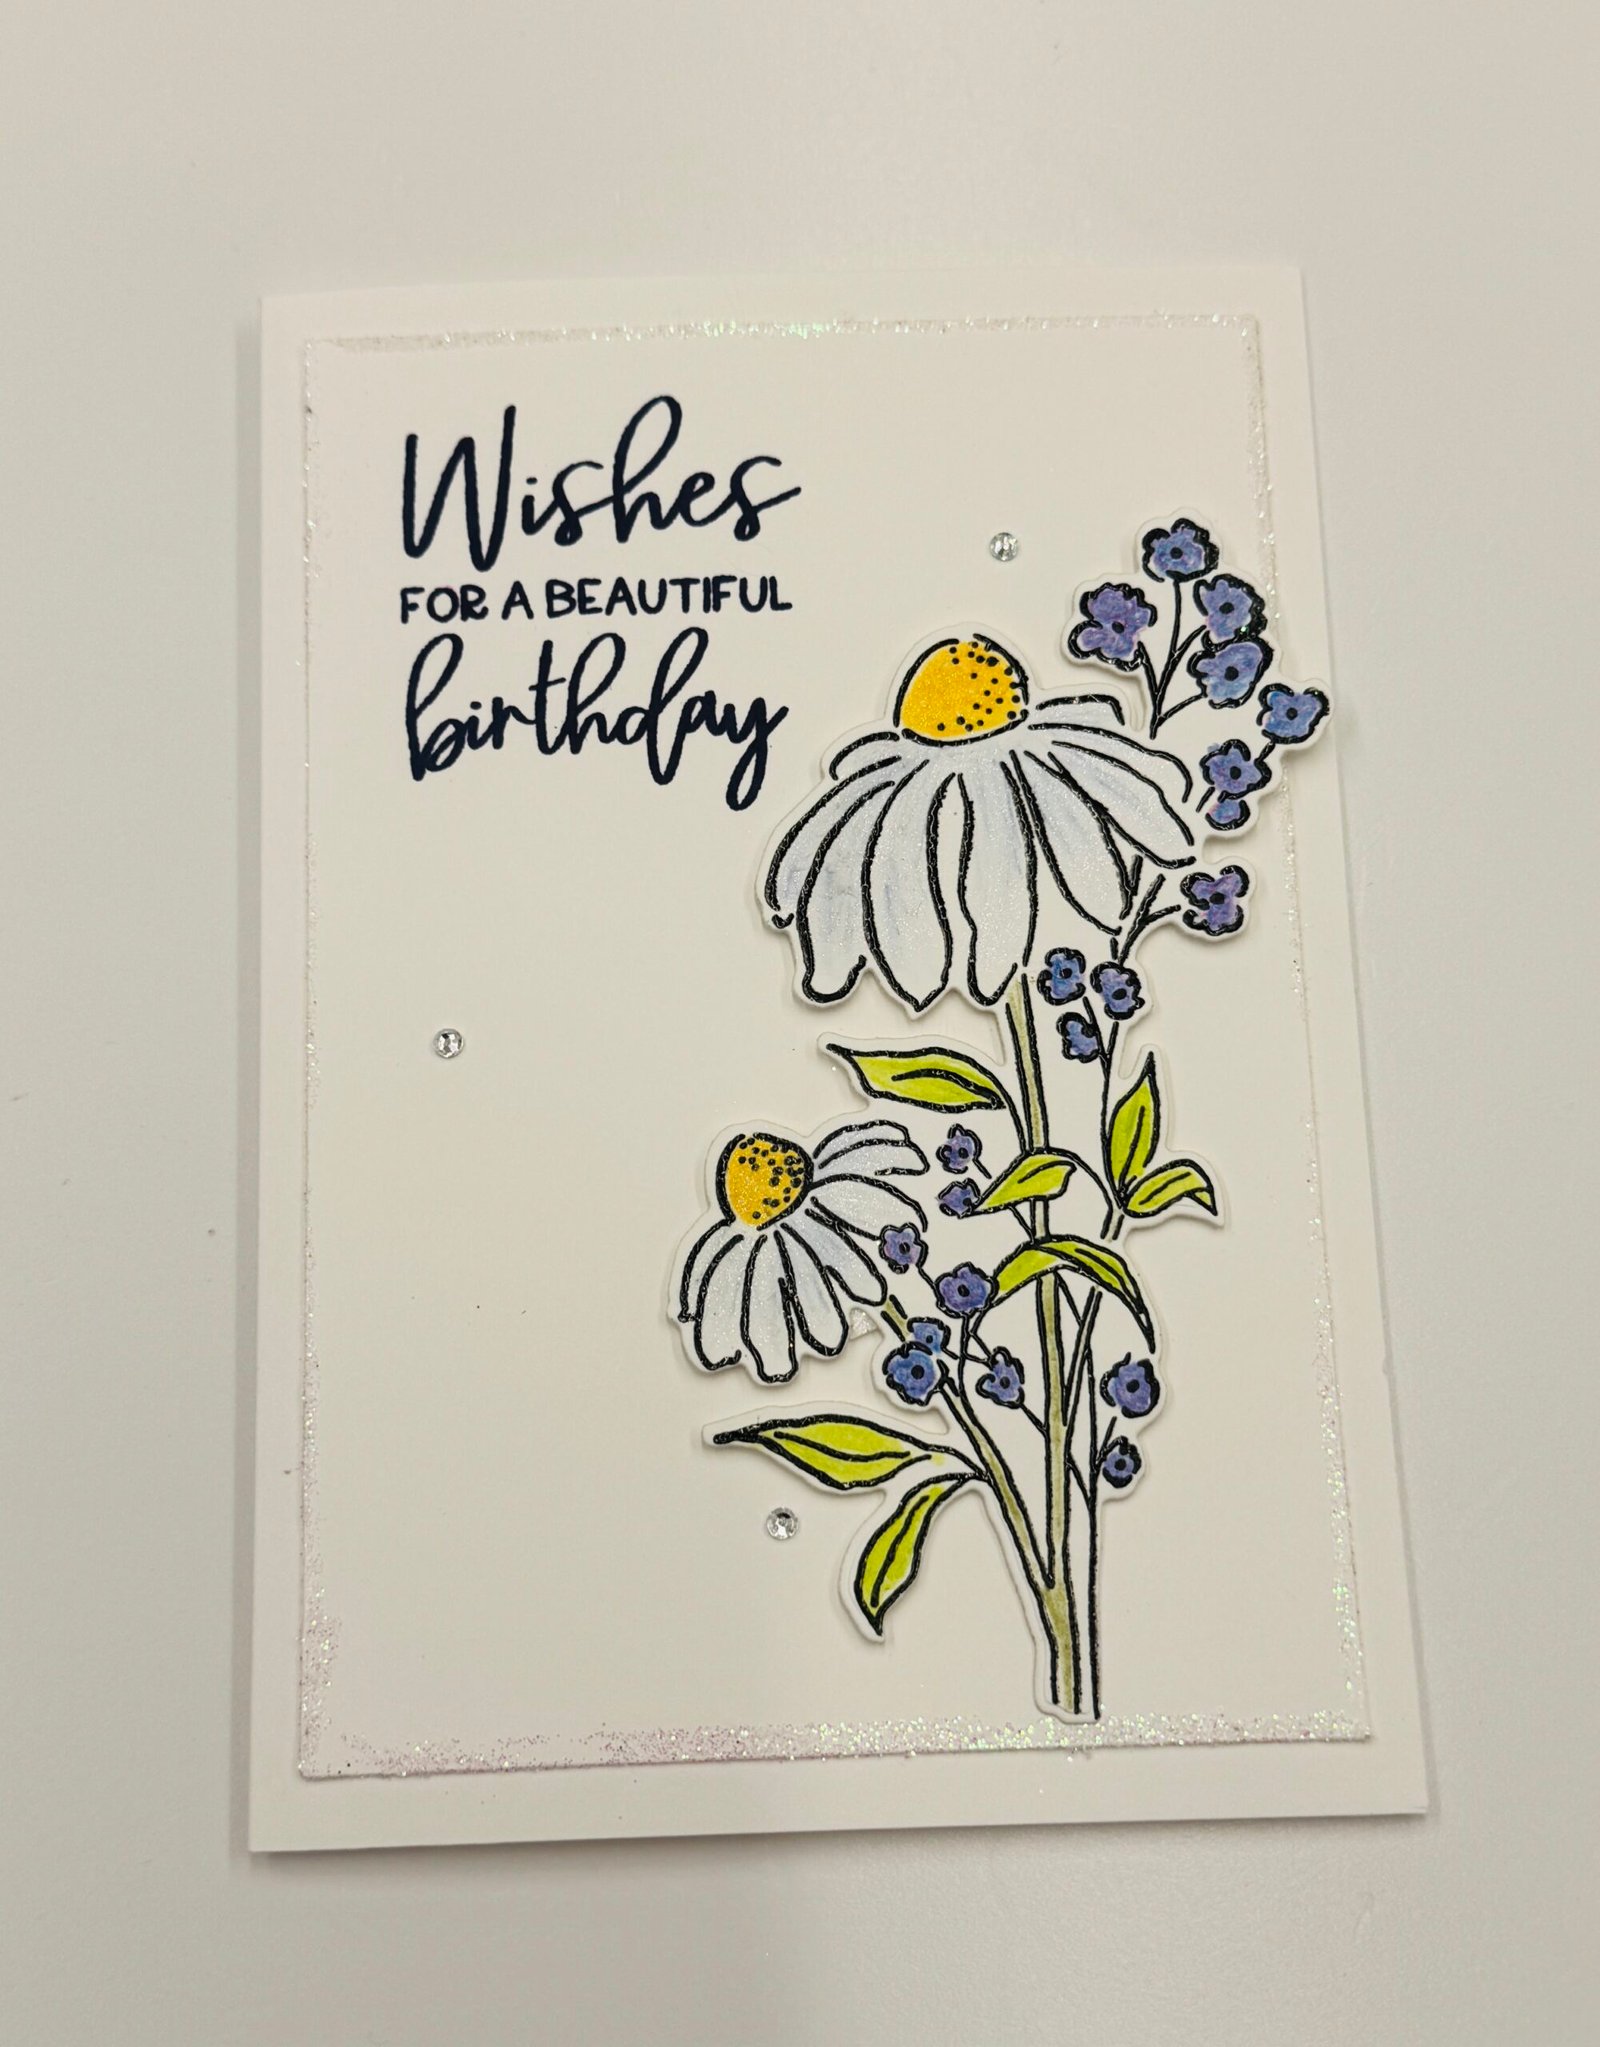
Die cut a rectangle from the Everyday Details die set from basic white card stock. Stamp your sentiment on this die cut using a pigment ink pad and sprinkling with clear embossing powder. Heat using the heat gun. Then cut a piece of Balmy Blue/Petal Pink card stock that will measure approximately 3 3/4″ x 2 1/4″ and adhere to the back of the rectangle die cut. Place foam pads on the back and adhere to your base card (see pic for placement).
From the Simply Zinnia stamp set, stamp your flowers using a pigment ink pad, sprinkle with clear embossing powder and heat up using the heat gun. Colour your flowers. (I used Petal Pink, Balmy Blue and Old Olive). Adhere to the rectangle die cut.
Add some rhinestones and the card is complete.
Here is the video on how to put together the Simply Zinnia card
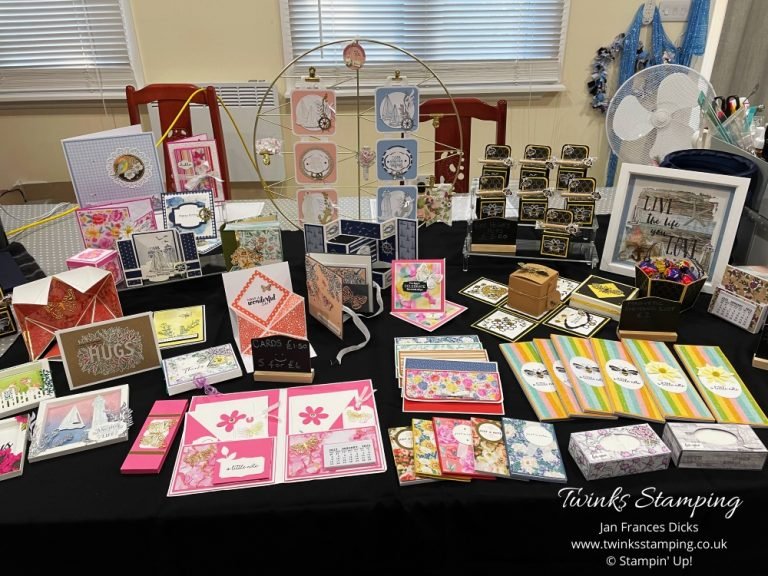
Classes at Home or In Person
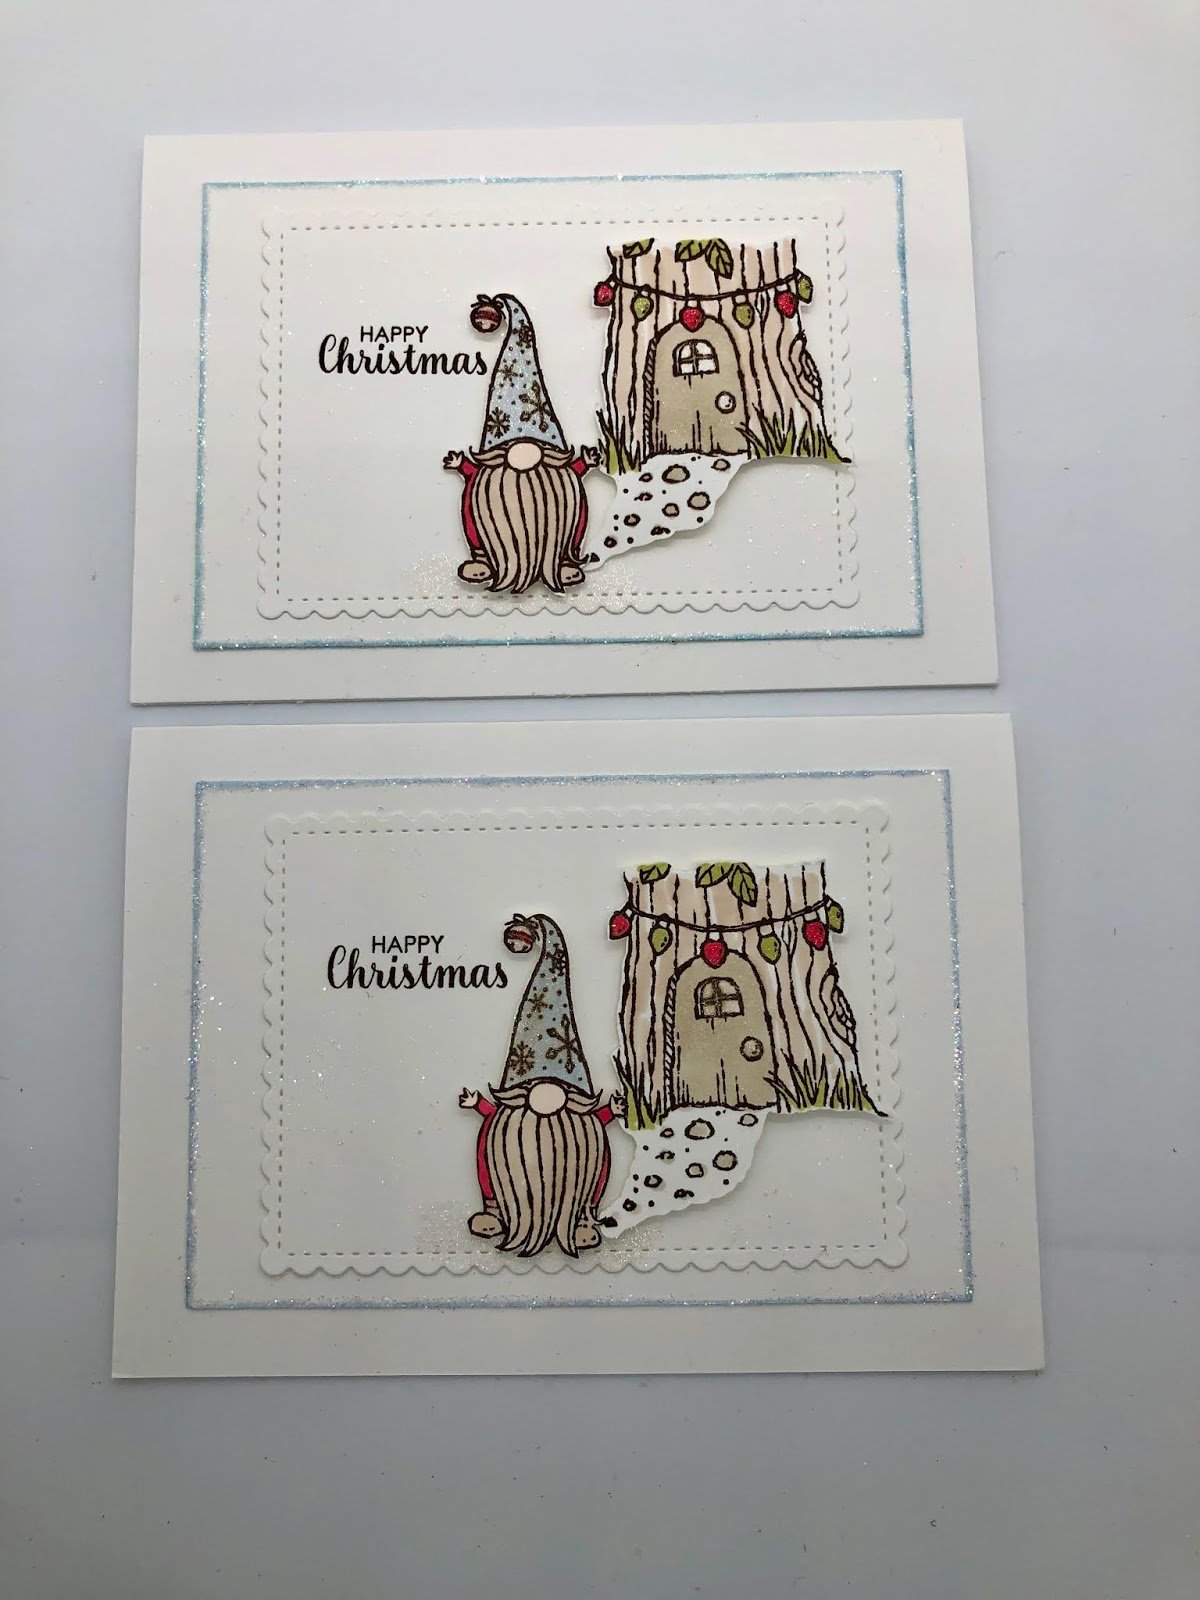
KITS
Many of us are at home and wondering how to fill our time. Well, I can offer monthly card kits to keep you busy. Please click here for more details.
CLASSES
I run a class in a lovely hall in Hailsham – Click here for more details.
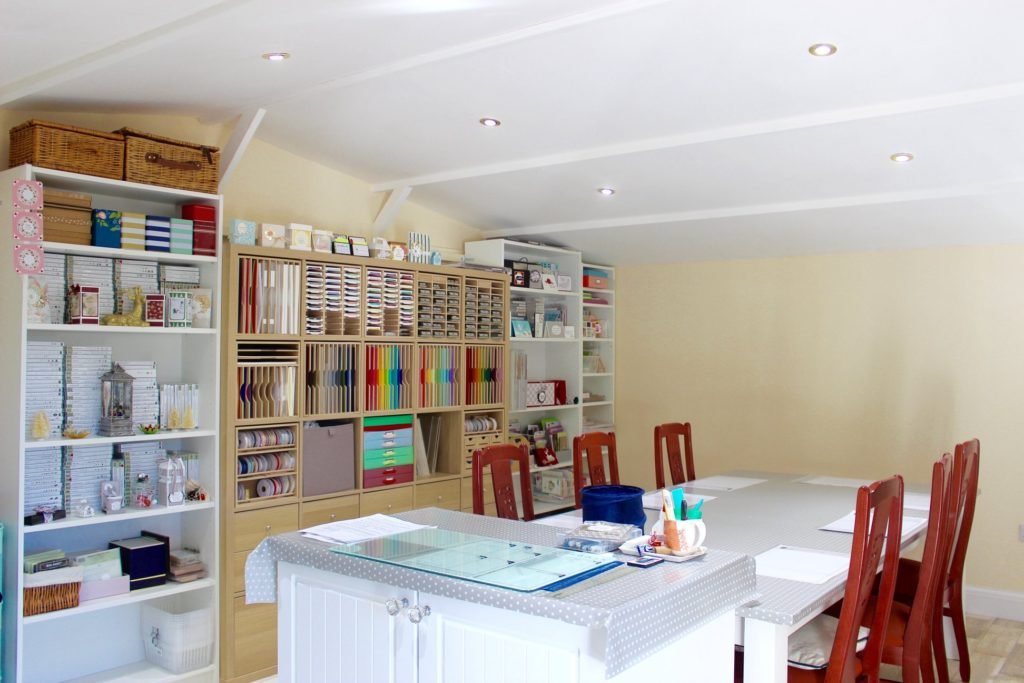
Classes are now being held in my Studio on a regular basis. If you would like details, just click on the picture below.
Thinking of joining Stampin’ Up! ?
One of the first benefits you will receive will be your bespoke “Starter Kit” which will be £130 worth of your chosen product for just £99.00 and it will be sent to your home completely free of charge! You will also receive business products too to help you start your very own business (if this is what you wish to do!).
That is not all, you will also receive a 20 / 25% discount on all your future products. You will also be one of the first to know about new products and offers, you can have your own dedicated web site/shop and you can exclusive Facebook groups for inspiration and assistance, should you need it. So whether you are someone who wants to buy the lovely products for yourself and your family & friends or whether you want to start your own little craft business, I am here to help you.
If you think this would be of interest to you, just click on the link Join my team
Want to keep up to date with all the news and offers? Sign up to my Newsletter.
Thank you for stopping by today.
Take care
Jan
Product List


")